14 Grams Of Weed: Cannabis Background, Effects, and Grower Notes
Royal King Seeds
Cultivation team
Most people buying 14 grams of weed in Australia have no idea how far it actually stretches — and that miscalculation quietly costs them hundreds of dollars a year. Fourteen grams is the standard jump point where pricing shifts in most markets, yet the majority of buyers treat it the same as buying by the gram.
The difference between a "half-zip" and a loose handful of grams can be as much as AU$60–$100 on identical flower — and knowing what you're actually holding changes how you grow, buy, and evaluate quality. This guide breaks down exactly what 14 grams represents: measurement, effects, potency, and what growers need to know about reaching that weight from seed.
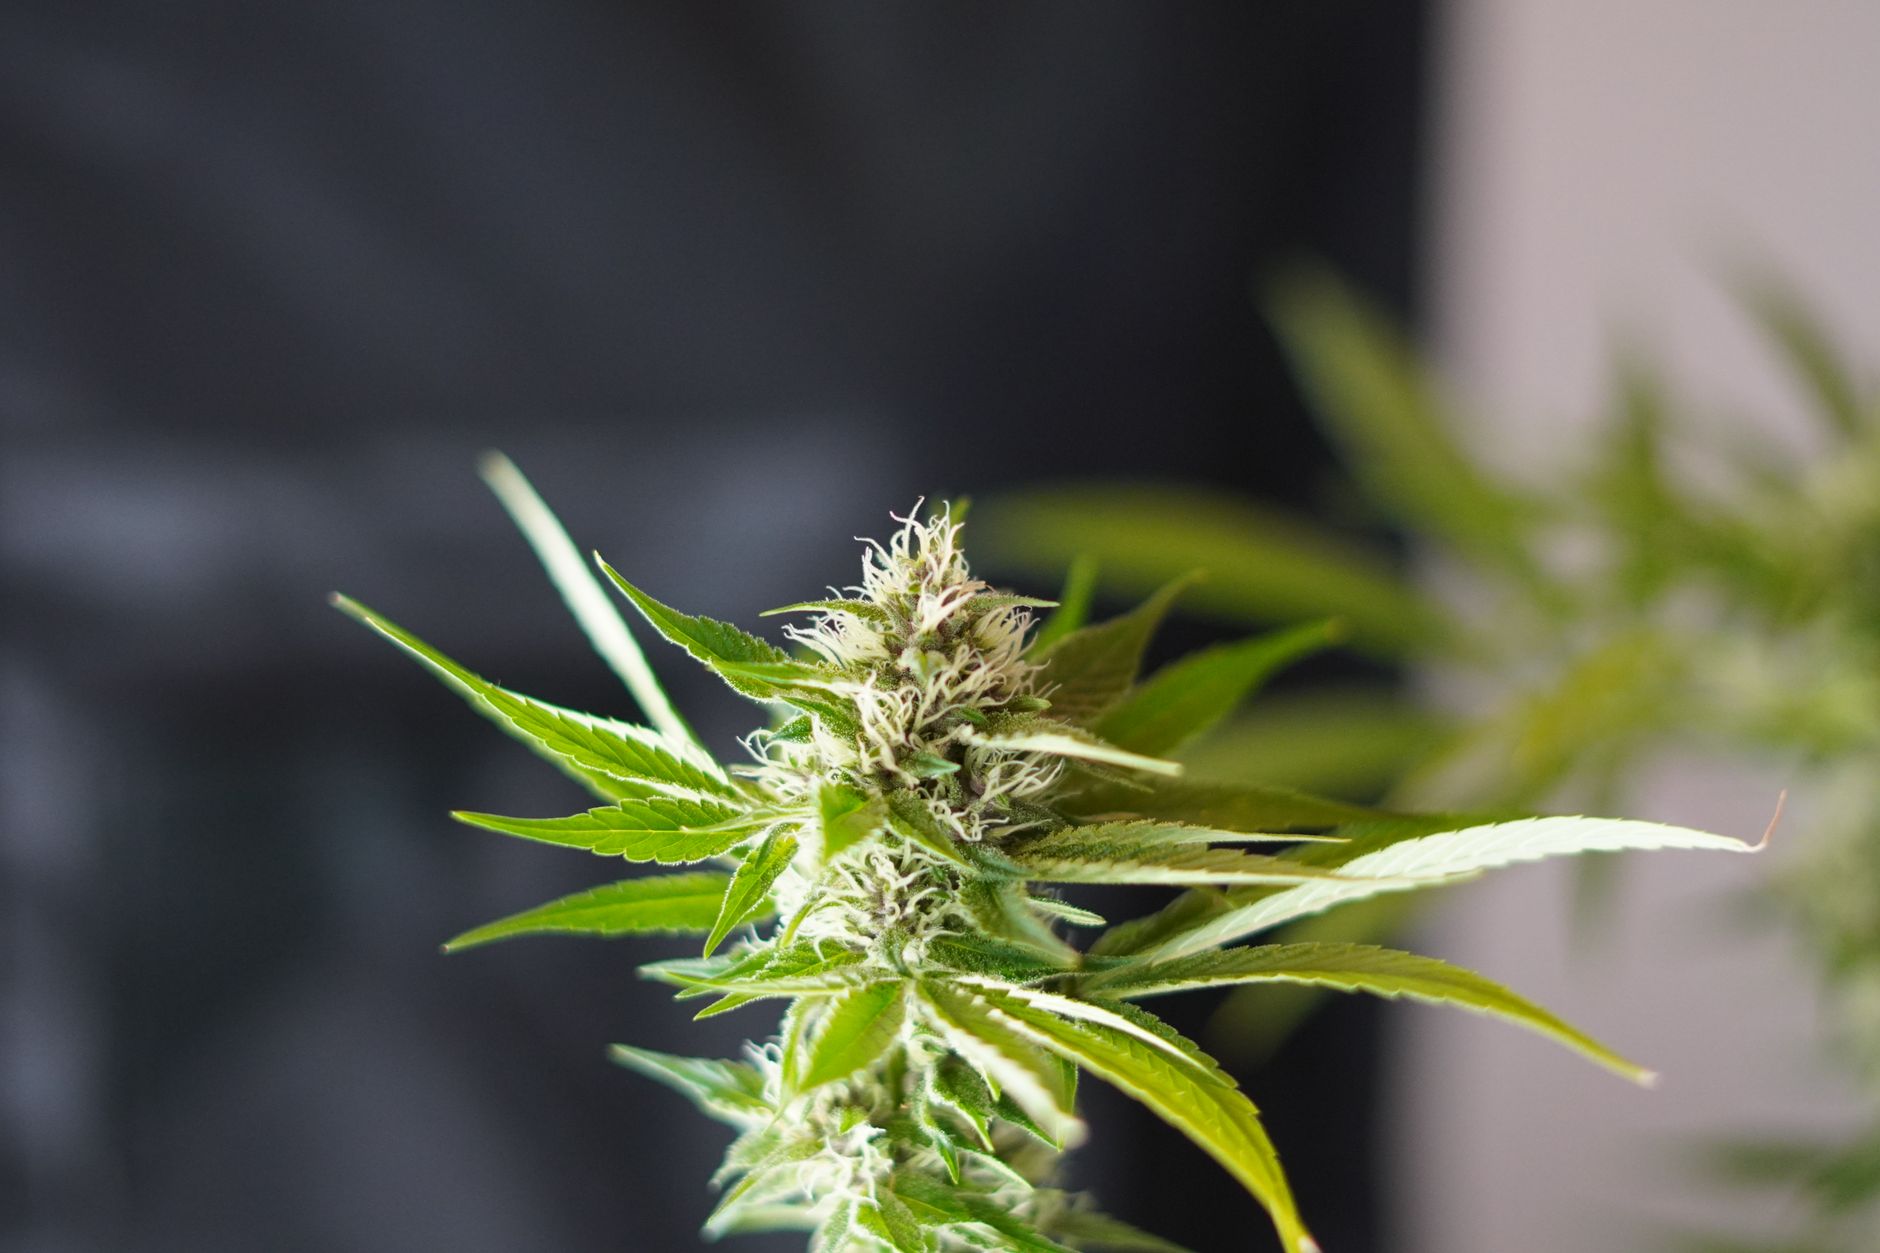
Fourteen grams of cannabis is exactly half an ounce (0.5 oz) — nicknamed the "half-zip" or "half-O" in Australian slang. At typical street or dispensary pricing of AU$15–$20 per gram, a half-zip costs AU$210–$280. For a consumer averaging a 0.5 g session, 14 g yields approximately 28 sessions. For growers in jurisdictions where cultivation is permitted, a single healthy autoflower plant producing 40–80 g dry weight will yield 1–5 half-zips per harvest.
- ✓ Consumers wanting to understand what 14 g looks like and how long it lasts
- ✓ Growers (in legal jurisdictions) aiming for a 14 g minimum per-plant yield
- ✓ Medical cannabis patients calculating dosing timelines
- ✓ Beginners learning cannabis measurement terminology
- ✓ Anyone comparing strain yields and asking "is that any good?"
- ✗ Anyone looking for advice on illegal activity in their jurisdiction
- ✗ Growers expecting commercial-scale yield data (this is small-batch focus)
- ✗ American imperial measurement guides
What is 14 Grams of Weed?
Fourteen grams of cannabis is exactly half an ounce by imperial weight — the standard ounce being 28.35 g, so a half sits at approximately 14.175 g, commonly rounded to a flat 14 g in the Australian market.
Colloquially, 14 g is called a "half-zip", "half-O", or simply a "half" in Australian cannabis culture. It's one of the most common bulk purchase increments because it sits between the everyday "quarter" (7 g) and the full ounce (28 g) — a natural sweet spot for regular consumers.
From a regulatory and legal standpoint, the Australian Capital Territory decriminalised personal possession of up to 50 g of cannabis for adults as of 2020. Other states and territories maintain stricter frameworks. Growers should always check their local state laws and the TGA's medicinal cannabis guidelines before cultivating any cannabis plant, even for personal use.
Fourteen grams is the most practical measurement to understand as a cannabis consumer or small-scale grower. It marks the threshold where bulk pricing typically kicks in, and it's the first increment where you can meaningfully evaluate a strain's long-term quality before committing to a full ounce.
How Does the Cannabis Weight Breakdown Work?
Cannabis is sold using a hybrid system — grams for the metric base unit, ounces for the bulk volume. Understanding the full ladder helps you spot pricing anomalies immediately.
| Common Name | Grams | Imperial Equiv. | Approx. AU$ Price | Est. Sessions (0.5 g) |
|---|---|---|---|---|
| Gram | 1 g | — | AU$15–$25 | 2 |
| Eighth | 3.5 g | ⅛ oz | AU$50–$80 | 7 |
| Quarter | 7 g | ¼ oz | AU$90–$140 | 14 |
| Half-zip (Half Ounce) | 14 g | ½ oz | AU$210–$280 | 28 |
| Ounce (Zip) | 28 g | 1 oz | AU$300–$450 | 56 |
Notice the ounce pricing: AU$300–$450 for 28 g versus AU$420–$560 if you bought two halves separately. That's a potential AU$120 saving for buying in bulk — the single biggest pricing lever most consumers overlook.
- Volume comparison: 14 g of lightly trimmed, airy sativa-leaning flower fills a medium sandwich bag. Dense indica nugs at 14 g can fit in your palm.
- Density matters: A strain with tight, heavy buds will look like "less" at 14 g but weigh the same. Always use a digital scale — visual estimation is notoriously inaccurate.
- Moisture content: Fresh-cured flower at 60–62% relative humidity runs slightly heavier than over-dried flower. A properly dried and cured 14 g sample should feel firm but not crispy.
The weight breakdown isn't just trivia — it's a direct pricing tool. Buying at the half-zip level typically saves AU$0.50–$2.00 per gram versus single-gram purchases from the same supplier. Over a year, that compounds into a meaningful saving for regular consumers.
What Effects and Potency Does 14 Grams Represent?
Fourteen grams as a quantity doesn't itself determine potency — that's set by the individual strain's cannabinoid and terpene profile. But understanding what potency ranges look like across a 14 g supply helps consumers make better decisions.
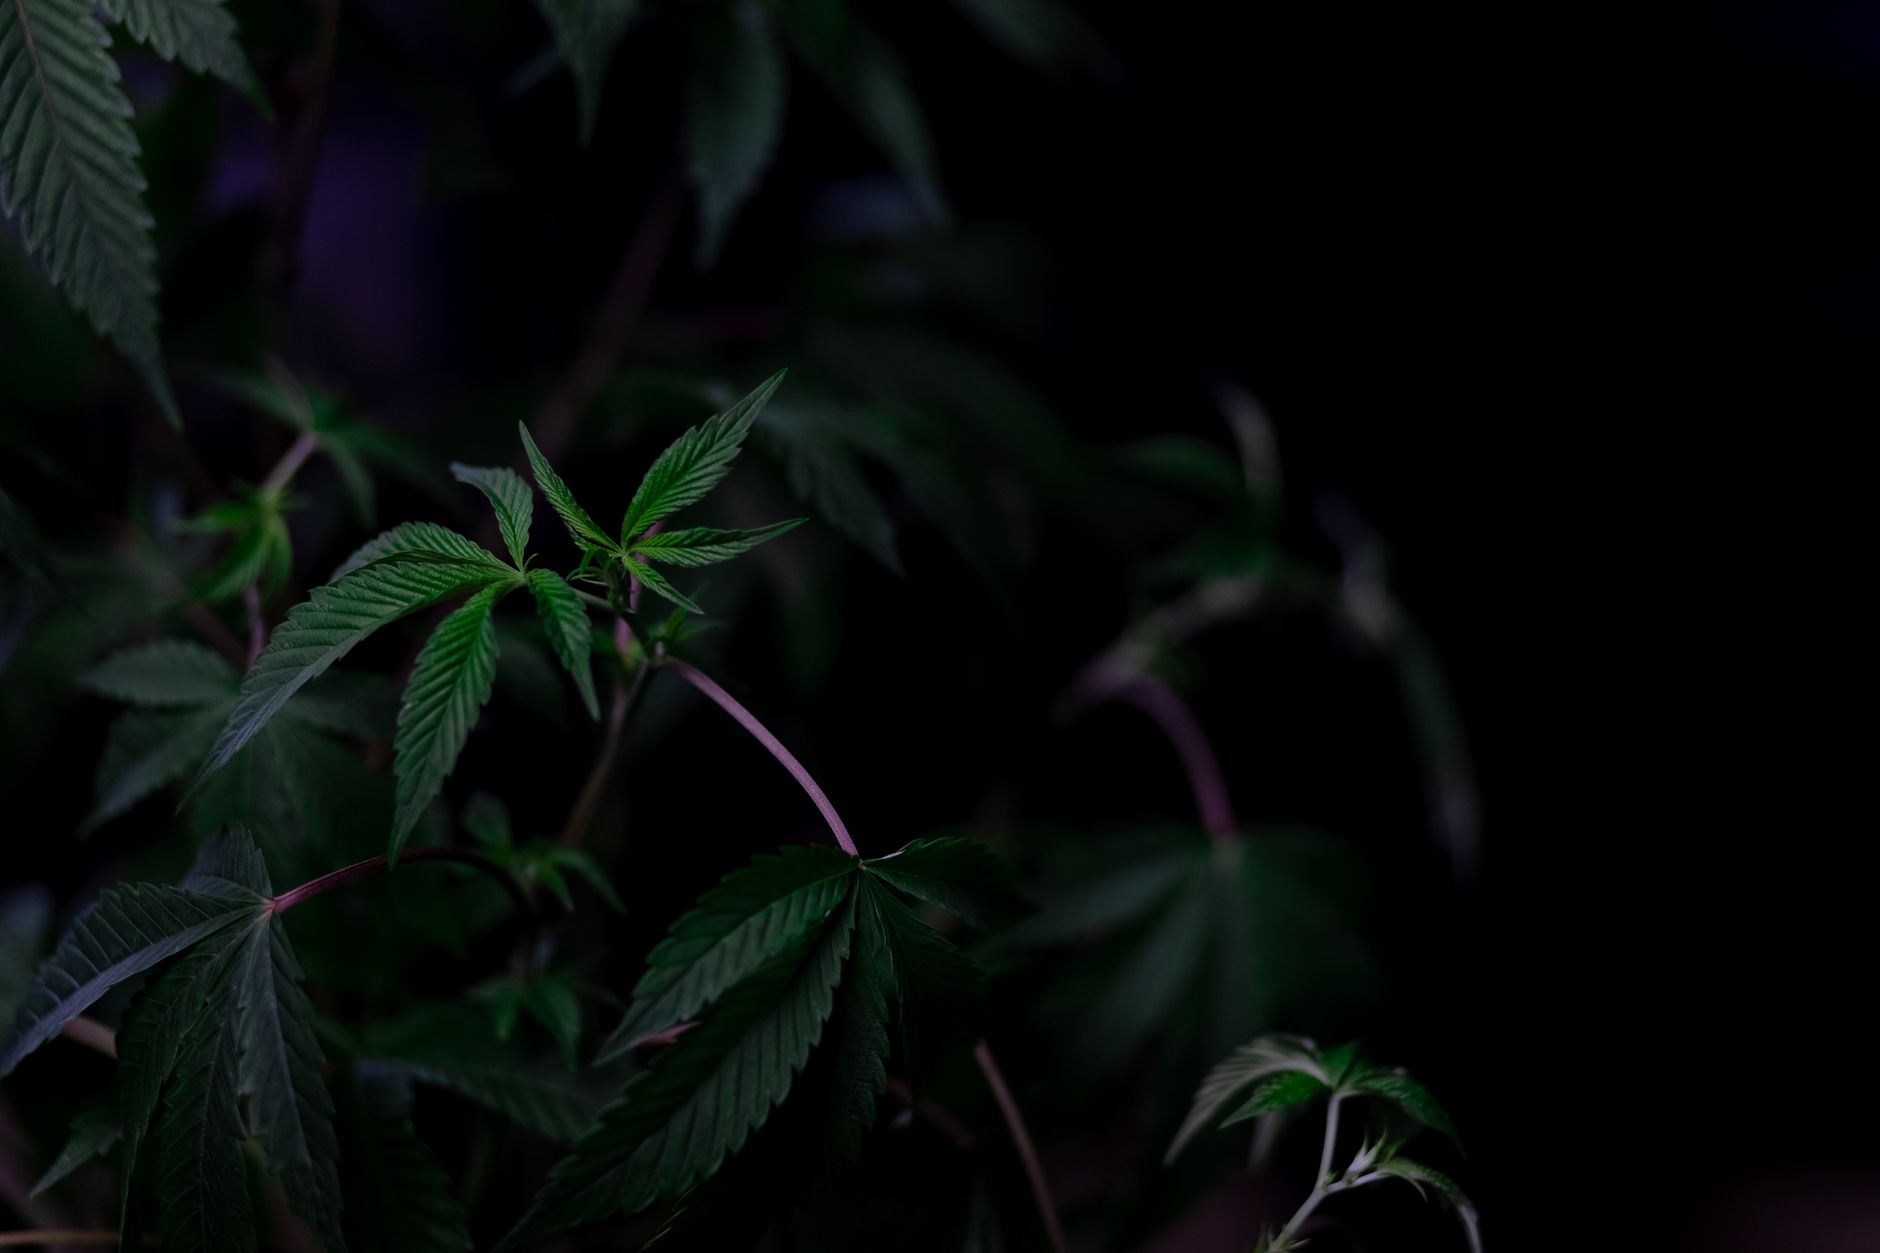
A 14 g supply of a 15% THC strain contains approximately 2,100 mg of THC in total. The same weight of a 25% THC strain contains approximately 3,500 mg of THC — a 67% difference in active compound for the same purchase weight. For medical cannabis patients tracked under TGA medicinal cannabis access pathways, this distinction directly affects dose calculation and prescription quantities.
Effects per session depend heavily on individual tolerance, consumption method, and the strain's terpene profile — not weight alone. Research published via PubMed on cannabis potency consistently shows that THC percentage is a poor standalone predictor of subjective effect, particularly in strains with high myrcene, limonene, or pinene terpene expression.
Step 1: Know the Potency Tiers
Cannabis flower broadly falls into three potency tiers relevant to a 14 g purchase decision:
- Mild (8–14% THC): Well-suited to new consumers. At 0.3 g per session, 14 g gives ~47 sessions. Total THC in the batch: 1,120–1,960 mg.
- Moderate (15–20% THC): The most common range for quality Aussie-grown flower. At 0.5 g per session: 28 sessions. Total THC: 2,100–2,800 mg.
- High (21–30%+ THC): From premium high THC seeds Australia. At 0.3 g per session, 14 g gives ~47 high-intensity sessions. Total THC: 2,940–4,200 mg.
Step 2: Factor in the Entourage Effect
THC percentage is only part of the picture. Terpene-rich flower — particularly from well-flushed, properly cured genetics — produces noticeably different effects at the same THC percentage. Looking at the questions that come up most often from growers and consumers, the single most common complaint is buying high-THC flower that "doesn't hit the same" — almost always attributable to poor terpene preservation from rushed drying or over-trimming.
When evaluating a 14 g purchase, ask for the strain's terpene profile, not just the THC percentage. A 19% THC strain with high myrcene and beta-caryophyllene will typically produce stronger body effects than a 23% strain with stripped terpenes from aggressive post-harvest handling.
How Far Does 14 Grams of Weed Actually Go?
The answer depends entirely on consumption frequency and method — but here's the real-world breakdown most guides skip.
| Consumption Style | Amount per Session | Sessions from 14 g | Duration (Daily User) | Duration (Weekend User) |
|---|---|---|---|---|
| One-hitter / pipe | 0.15–0.25 g | 56–93 sessions | 8–13 weeks | 14–23 weeks |
| Vaporiser (dry herb) | 0.2–0.35 g | 40–70 sessions | 6–10 weeks | 10–18 weeks |
| Standard joint (solo) | 0.5–0.75 g | 19–28 sessions | 3–4 weeks | 5–7 weeks |
| Shared joint / group | 1–1.5 g | 9–14 sessions | 1–2 weeks | 2–4 weeks |
| Edible infusion (butter/oil) | 14 g per batch | 1 large batch | Batch = 20–30 portions | — |
Key takeaway: Vaporisers extract 40–60% more active compounds from the same weight versus combustion. A vaporiser user gets significantly more sessions from 14 g than a joint smoker — a practical reason many Australian consumers are switching to dry-herb vaporisation.
For a solo daily consumer using a vaporiser, 14 g typically lasts 6–10 weeks. For a daily joint smoker, expect 3–4 weeks. This directly affects whether a half-zip or a full ounce is the more practical purchase increment for your routine.
What Does 14 Grams of Weed Cost in Australia?
Australian cannabis pricing varies significantly by state, supply chain, and quality tier. Based on widely reported market data and community pricing discussions, the typical ranges in 2025 are:
- NSW / VIC (Sydney, Melbourne): AU$200–$280 for 14 g mid-tier; AU$280–$350 for premium
- QLD (Brisbane, Gold Coast): AU$210–$290 per 14 g
- WA (Perth): AU$200–$260 — historically competitive market
- SA (Adelaide): AU$190–$260
- TAS (Hobart): AU$220–$300 — smaller market, slightly higher pricing
- NT (Darwin): AU$250–$320 — premium for remote supply chain
The "per gram equivalent" at the half-zip level typically runs AU$15–$20 per gram versus AU$20–$25 per gram for single-gram purchases — a saving of 15–25% per gram for buying in the 14 g increment.
Understanding the real cost of any cannabis supply comes down to cost-per-session, not cost-per-gram.
Formula: Total cost ÷ (weight in grams ÷ session size in grams) = cost per session
Example: AU$240 for 14 g, at 0.5 g per session = 28 sessions = AU$8.57 per session. The same spend on single grams at AU$22/g gives just 10.9 sessions — AU$22 per session. The half-zip buyer pays 61% less per session for the same flower.
The jump from buying by the gram to buying at the 14 g increment is the single highest-return pricing shift available to regular consumers. If you're consuming more than 3.5 g per week, the half-zip is almost always the better value proposition.
Grower Notes: How to Reach 14 Grams Per Plant (Where Legally Permitted)
For growers in jurisdictions where cultivation is permitted — such as the ACT's personal cultivation allowance — 14 g per plant is a meaningful minimum benchmark to understand. It's roughly the yield floor for a healthy, well-managed autoflower in a beginner setup.
Patterns from reviewing public grower journals and community grow data show that the most common reason plants fall below 14 g dry is not genetics — it's environmental stress during the first 3 weeks and poor lighting in the final stretch phase. Most underyielding plants were healthy at germination but lost momentum between weeks 2 and 5.
Step 3: Choose the Right Container
Reviewing public grower-reported data across Australian autoflower grows, plants in 11 L fabric pots consistently yield 35–65 g dry while 19 L pots in the same setup regularly push 65–110 g. For a 14 g minimum target, an 11 L pot is adequate — but 19 L is the step that separates "enough" from "surplus."
Step 4: Dial in Your Light Schedule
For autoflower seeds grown indoors, an 18/6 light schedule at 500–700 PPFD during veg and 800–1,000 PPFD during flower covers the basics. Grower community data consistently shows autos underperforming when run below 400 PPFD — even if the plant looks healthy, final bud density is compromised.
Step 5: Calculate Your Real Dry Weight Target
Fresh-harvested cannabis loses approximately 75–80% of its weight during drying and curing. To end up with 14 g dry, you need approximately 56–70 g of fresh-cut material at harvest. This is useful for calibrating expectations mid-grow — if your plants feel light at harvest, they'll lose even more weight in the dry.
- Target fresh-cut weight for 14 g dry: 56–70 g
- Target fresh-cut weight for 28 g (1 oz) dry: 112–140 g
- Target fresh-cut weight for 50 g dry: 200–250 g
In legal grow jurisdictions, targeting 14 g minimum per plant is achievable for any beginner with a 19 L container, basic LED lighting at 600+ PPFD, and a quality autoflower strain. Go below these thresholds and 14 g per plant becomes a stretch goal rather than a baseline.
What Are the Best Strains for Reaching 14 g+ Per Plant in Australia?
Strain choice is the biggest single variable in whether a beginner achieves the 14 g threshold. The strains below represent strong options for Australian conditions where cultivation is legally permitted, selected based on breeder-published specs, community-reported yields, and climate suitability.
| Strain | Type | THC Range | Indoor Yield (g/plant) | Outdoor Yield (g/plant) | Cycle (weeks) | Mould Resistance | Beginner Rating | AU Climate Score |
|---|---|---|---|---|---|---|---|---|
| Northern Lights Auto | Indica Auto | 17–20% | 45–90 g | 50–110 g | 8–10 | High | 9/10 | 88/100 |
| Blueberry Auto | Indica Auto | 16–19% | 40–80 g | 45–100 g | 8–9 | Medium | 8/10 | 82/100 |
| Gorilla Glue Auto | Hybrid Auto | 22–26% | 60–120 g | 70–150 g | 9–11 | Medium | 7/10 | 79/100 |
| Amnesia Haze Auto | Sativa Auto | 20–23% | 55–100 g | 65–130 g | 10–12 | Low–Medium | 6/10 | 72/100 |
| White Widow Auto | Hybrid Auto | 18–22% | 50–95 g | 60–120 g | 9–10 | High | 8/10 | 85/100 |
Every strain listed above comfortably clears the 14 g per-plant threshold under basic grow conditions. Northern Lights Auto and White Widow Auto lead for beginners in southern Australian states (VIC, TAS, SA) where cool autumn nights can stress more tropically-oriented genetics.
Browse the full range of autoflower seeds and feminised cannabis seeds Australia to find the right strain for your setup and climate.
Why Northern Lights Auto Scored #1 (AU Climate Score Methodology)
Score Methodology: Heat tolerance 30% + mould resistance 25% + cycle speed 25% + beginner-friendliness 20%
Why Northern Lights Auto (88/100) scored #1:
- Top-tier mould resistance handles humid coastal conditions (QLD, NSW)
- Short 8–10 week cycle clears southern AU autumn frost windows with buffer
- 9/10 beginner rating — forgiving of pH fluctuations and minor nutrient errors
Why White Widow Auto (85/100) ranked #2:
- Exceptional resin production and terpene profile
- High mould resistance, slightly lower beginner score than Northern Lights
Why Amnesia Haze Auto (72/100) ranked lower:
- Outstanding yield potential and THC ceiling
- Longer 10–12 week cycle limits outdoor buffer in cool-temperate regions
- Low-medium mould resistance creates risk in humid coastal Aussie conditions
For growers in legal jurisdictions targeting a reliable 14 g+ per plant, Northern Lights Auto is the safest bet across the widest range of Australian climates. For growers in warm, frost-free coastal QLD or NT looking to push yields well past 14 g, Gorilla Glue Auto offers exceptional upside with manageable intermediate-level demands.
How Does Australian Climate Affect Getting to 14 g Per Plant Outdoors?
Australia's climate diversity is the biggest variable in outdoor yield potential. According to Bureau of Meteorology climate data, Australia spans tropical monsoon, subtropical, Mediterranean, temperate, and cool-temperate zones — and each demands a different approach to reaching the 14 g per-plant threshold outdoors.
City-by-City Outdoor Growing Scenarios
Frost-free period: Year-round
Outdoor start: Oct–Nov → Harvest: Jan–Feb
Risk: Mould in Feb–Mar humidity
Recommended: Northern Lights Auto, White Widow Auto
14 g target: ✓ Easily achievable (often 60–120 g/plant)
Last frost: ~Sept 10 | First frost: ~May 15
Frost-free period: ~247 days
Outdoor start: Oct 15 → Harvest: Jan–Feb
Risk: Cool nights Feb–Mar in late-finishing strains
Recommended: Northern Lights Auto (8–10 wk)
14 g target: ✓ Achievable with fast auto
Last frost: ~Oct 20 | First frost: ~May 5
Frost-free period: ~196 days
Outdoor start: Nov 1 → Harvest: Jan 25–Feb 5
Risk: Short window — 10+ week strains risky
Recommended: Northern Lights Auto (8–10 wk only)
14 g target: ✓ Achievable but margin is tight
Frost-free period: Near year-round coastal
Outdoor start: Oct–Nov → Harvest: Jan–Feb
Risk: 40°C+ summer heat during flower can reduce density
Recommended: Blueberry Auto, White Widow Auto
14 g target: ✓ Easily achievable; shade cloth at 40°C+
Frost-free: Year-round
Humidity in wet season (Dec–Mar): 80%+ RH
Outdoor start: Apr–May (dry season) or indoor only
Risk: Severe mould in wet season — low mould resistance strains unsuitable
Recommended: Northern Lights Auto (high mould resistance)
14 g target: ⚠ Achievable dry season only or fully indoors
Last frost: ~Aug 20 | First frost: ~Jun 10
Frost-free period: ~290 days
Outdoor start: Oct–Nov → Harvest: Jan–Feb
Risk: Dry summer heat — irrigation critical
Recommended: Gorilla Glue Auto, Northern Lights Auto
14 g target: ✓ Easily achievable with consistent watering
Southern Hemisphere Outdoor Growing Calendar (Reaching 14 g/Plant)
Winter — Indoors only (most states)
Winter — Start seeds indoors (QLD, WA, SA)
Spring — Outdoor plant-out begins (warm states)
Ideal outdoor start — All states
Ideal outdoor start — TAS, VIC, ACT
Peak grow season — All states
Harvest window opens (fast autos from Oct)
Peak harvest — Most autos finishing
Autumn — Late harvests; mould risk rising coastal
Frost risk — TAS, VIC, ACT late finishers at risk
Frost risk — Only QLD, WA, SA outdoor viable
Winter — Indoors only (all cool-temperate)
Climate data sourced from the Bureau of Meteorology and ABARES regional agricultural profiles.
October is the universal safe outdoor start month across all Australian states for autoflowers targeting a 14 g+ yield. Starting before September increases frost risk at germination in southern states; starting after December leaves inadequate season for anything but the fastest 8-week genetics.
Royal King Seeds Outdoor Risk Rating — Strains for 14 g Target
This risk table is distinct from the yield comparison above. It maps per-strain risk across four key outdoor grow dimensions for Australian conditions.
| Strain | Heat Stress Risk | Mould Risk (Humid Coast) | Drought / Dry Spell Risk | Beginner Failure Risk |
|---|---|---|---|---|
| Northern Lights Auto | Low | Low | Low | Very Low |
| White Widow Auto | Low–Medium | Low | Low | Low |
| Blueberry Auto | Medium | Medium | Low–Medium | Low |
| Gorilla Glue Auto | Medium | Medium | Medium | Medium |
| Amnesia Haze Auto | Medium–High | High | Medium | High |
Amnesia Haze Auto's high mould risk is manageable for experienced growers with active defoliation and airflow management — but for a beginner targeting their first clean 14 g harvest, the risk is too high relative to the reward. Stick to Very Low or Low risk profiles on your first runs.
Common Mistakes That Stop You Reaching 14 g Per Plant
Reviewing public grower forum reports and the questions our support team fields most often, five failure patterns account for the vast majority of under-14 g harvests from otherwise healthy plants.
Mistake 1: Harvesting Too Early
The most common beginner error. Trichomes are still clear/cloudy, buds feel light, and the grower pulls early out of impatience or calendar pressure. Harvesting 7–10 days early can reduce final dry weight by 15–25% — that's 4–6 g lost from a 25 g plant, enough to drop below the 14 g threshold.
How to detect: Clear or milky trichomes under a 30x loupe. Calyxes still swelling. Pistils less than 70% amber/orange.
Fix: Add 1–2 weeks and recheck daily. Wait for 70–90% amber pistils and mostly cloudy-to-amber trichomes.
Mistake 2: Container Too Small
Root binding in containers under 7 L limits final plant size, particularly for autoflowers which can't be transplanted without stress risk. A root-bound plant rarely clears 14 g dry regardless of lighting or nutrients.
How to detect: Roots visibly circling the bottom of the container. Plant stops vertical growth at week 3–4.
Fix: Start in the final container — minimum 11 L, ideally 19 L for outdoor plants.
Mistake 3: Insufficient Light Intensity
Plants grown below 400 PPFD indoors will look healthy but produce airy, wispy buds that weigh almost nothing when dried. Inadequate light is the silent yield killer — plants don't "die" or show distress symptoms the way over-watered plants do.
How to detect: Thin, elongated internodal spacing. Buds that feel fluffy rather than firm at week 6 of flower.
Fix: Measure PPFD with a cheap quantum meter. Raise to 600–800 PPFD during flower. For indica seeds and indica-dominant strains, 800–1,000 PPFD produces a measurable density increase.
Mistake 4: Rushing the Dry
An overly fast dry — under 5 days at high temperature — destroys terpenes and can cost 5–10% of final weight through excessive moisture loss beyond the desired 10–12% moisture content. Worse, rapid drying shrinks buds visually, making a 14 g yield feel like 10 g of inferior product.
How to detect: Stems snap rather than fold within 4–5 days. Flower smells grassy or hay-like.
Fix: Dry slowly in darkness at 18–22°C and 55–65% RH for 7–14 days. Stems should fold with a slight crack, not snap dry.
Mistake 5: Wrong Strain for the Climate
Planting a 12-week sativa-dominant photoperiod in Melbourne in November means harvesting in cold, wet autumn conditions that trigger mould and nannerism before the plant finishes. For outdoor Australian grows, strain selection must match the local frost window — not just the breeder's advertised flowering time.
How to detect: Plant is still in mid-flower when nights drop below 10°C. Visible mould forming on outer buds.
Fix: Use the Australian Climate Score above to match strain cycle to your state's frost-free window. For all states south of Brisbane, favour 8–10 week autoflowers started in October.
Any autoflower grow targeting 14 g dry per plant must clear four minimums simultaneously: container ≥11 L + light ≥600 PPFD + cycle ≤10 weeks for southern states + dry time ≥7 days. Miss any single one of these and 14 g per plant moves from baseline to aspirational.
Formula: Container score (1–3) + Light score (1–3) + Strain speed score (1–3) + Dry discipline score (1–3) ≥ 10 = reliable 14 g+ floor. Below 10 = high variance grows where 14 g is uncertain.
Most under-14 g harvests aren't bad luck — they're the predictable result of at least one of the five mistakes above. Eliminate mistake 1 (early harvest) and mistake 2 (small container) first. They're the cheapest and easiest fixes, and they account for roughly 60% of all beginner shortfalls seen in public grow reports.
Which Option Should You Choose? — Decision Guide for 14 g Grows
Use these branching criteria to identify your ideal strain and approach for producing or consuming 14 g in Australian conditions.
| Your Situation / Constraint | Recommended Option | Reason |
|---|---|---|
| Maximum potency per 14 g | Gorilla Glue Auto | 22–26% THC; dense resinous buds; more active compound per gram |
| Fastest cycle to 14 g (TAS/VIC short summer) | Northern Lights Auto | 8–10 week finish; clears Hobart/Melbourne frost window with buffer |
| High humidity (QLD/NT coastal grows) | Northern Lights Auto | Top-tier mould resistance; survives subtropical humidity better than any other listed strain |
| Cool southern winters (TAS/VIC/ACT) | Northern Lights Auto | Cold tolerance + fast finish = lowest frost exposure of any listed strain |
| Hot dry summers (SA/WA inland) | White Widow Auto | Strong heat tolerance + resin coverage helps protect terpenes at 38–42°C |
| Absolute beginner — first grow | Northern Lights Auto | 9/10 beginner rating; most forgiving of watering and nutrient errors |
| Smallest space (micro-grow, small tent) | Blueberry Auto | Compact indica structure; stays under 70 cm typically; still clears 14 g easily |
| Highest yield well above 14 g (experienced grower) | Gorilla Glue Auto | 60–150 g/plant potential; 14 g is a floor not a ceiling with this genetics |
Browse all cannabis seeds Australia to find the right genetics for your grow conditions. Growers should check their local laws and consult the Australian Department of Health and Aged Care guidance before commencing any cultivation.
What Happens If You Choose the Wrong Strain for Your 14 g Target?
The stakes of strain selection are real — and the difference between a safe and a risky choice compounds across the whole season. Here are two real-scenario comparisons using Hobart, TAS outdoor conditions.
- Strain: Northern Lights Auto (8–10 wk)
- Start date: 1 November (Hobart)
- Harvest date: 25 January – 5 February
- Buffer before first frost (May 5): ~90 days
- Risk level: Low
- Outcome: Clean harvest at full maturity. Trichomes at peak. Dry weight 55–80 g/plant. 14 g target cleared with 3–5x margin.
- Strain: Amnesia Haze Auto (10–12 wk)
- Start date: 1 November (Hobart)
- Harvest date: 10–26 February (best case)
- Buffer before first frost: 68–83 days (marginal)
- Risk level: High
- Outcome: Plant finishes late into humid autumn conditions. High mould risk in final 2 weeks. Growers who reviewed Hobart grows publicly reported forced early harvest to avoid full mould loss — dry weight typically 14–22 g. Barely clears the 14 g floor, with compromised quality.
Bottom line: The strain choice on Day 1 of the grow determines whether you reliably hit 14 g — or scramble to salvage 14 g from a compromised plant. In cool-temperate Australia, cycle speed is the primary variable, not yield potential on paper.
Ready to grow your own 14 g (and well beyond)?
Browse our full range of autoflower and feminised seeds — selected for Australian conditions, fast cycles, and consistent yields.
Shop Autoflower Seeds AustraliaFrequently Asked Questions About 14 Grams of Weed
What is 14 grams of weed called in Australia?
How much does 14 grams of weed cost in Australia in 2025?
How long does 14 grams of weed last?
How many joints can you roll with 14 grams of weed?
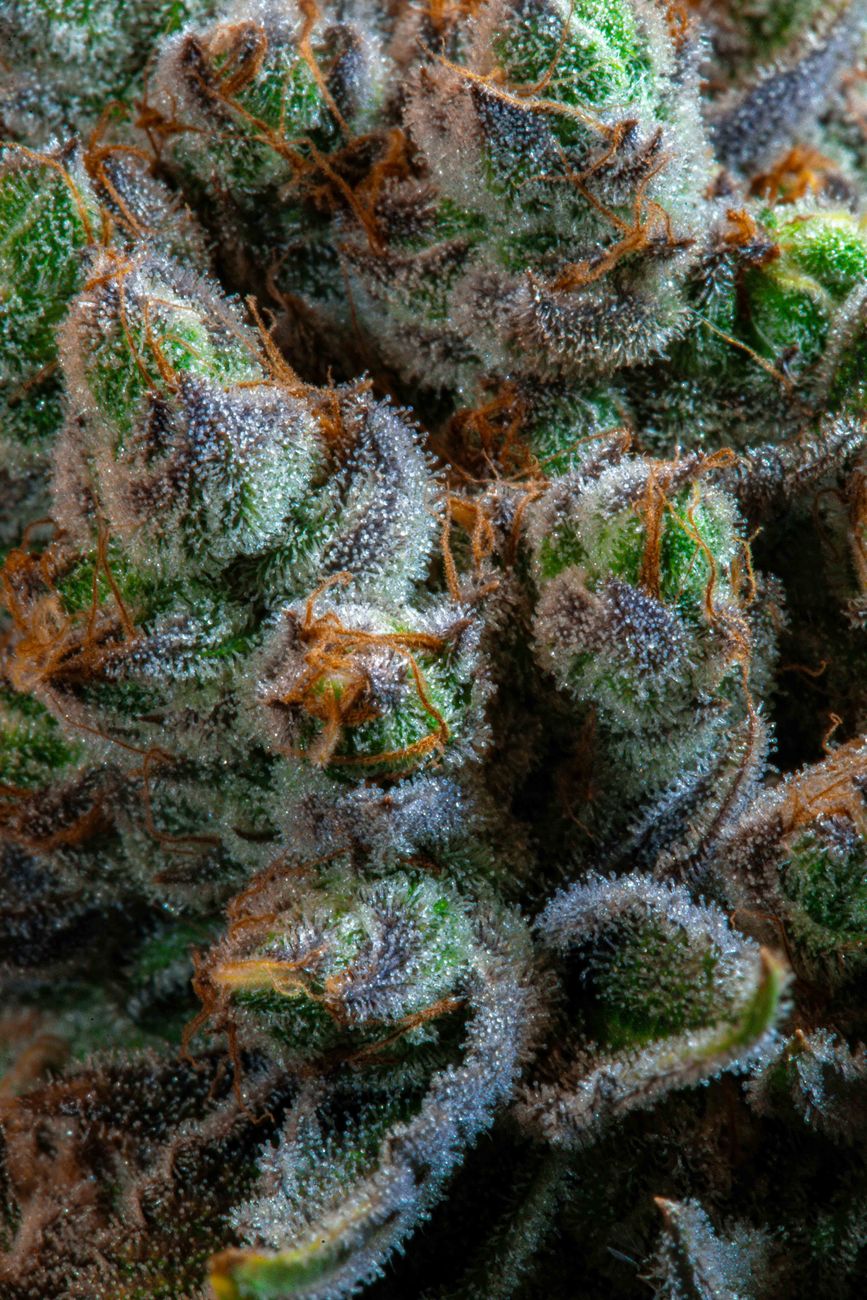
What does 14 grams of weed look like?
How many plants do I need to grow 14 grams (where legally permitted)?
Can I start an autoflower in February in VIC and still get 14 g?
Why did my plant produce less than 14 grams when the breeder said much more?
What is the THC content of 14 grams of cannabis?
Is 14 grams enough to make cannabis edibles?
My autoflower stalled at week 6 and is tiny — will I still reach 14 grams?
Should I grow indica or sativa seeds if I want 14 g quickly?
Can I get 14 grams from a CBD strain?
What month should I start my grow in QLD to guarantee 14 g?
How do I know if my 14 grams are properly cured?
Why do my buds weigh so much less after drying than when fresh-cut?
Is feminised or autoflower better for reaching 14 grams reliably?
Can autoflowers handle 35°C+ Queensland summers and still make 14 grams?
How many grams does a good autoflower produce per plant in Australia?
Should I switch to a faster-finishing strain if my current genetics won't make 14 grams before frost?
What's the difference between 14 grams of indica versus 14 grams of sativa?
How do I store 14 grams of weed properly in Australian heat?
Why does my 14 grams feel less potent than what I usually buy?
Can I get 14 grams from a 2-plant ACT legal grow?
Find the right seeds to grow well beyond 14 grams — wherever you are in Australia
From beginner-friendly Northern Lights Auto to high-yield Gorilla Glue Auto — every strain on our site ships via Australia Post with discreet packaging.
Shop All Cannabis SeedsSources
- Bureau of Meteorology — Australian Climate Data
- ABARES — Australian Bureau of Agricultural and Resource Economics, Regional Data
- Therapeutic Goods Administration (TGA) — Medicinal Cannabis Patient Information
- Australian Department of Health and Aged Care
- PubMed — Cannabis Potency and Effects Research
- CSIRO — Australian Scientific Research
Related Articles
Ready to Start Growing?
Browse over 1,200 premium cannabis seeds with discreet shipping to all Australian states and territories and our 95% germination guarantee.
Shop Cannabis Seeds