What Does A Pound Of Weed Look Like? Cannabis Answers Backed by Grower Data
Royal King Seeds
Cultivation team
If you've ever been confused by imperial cannabis measurements — "a pound," "a zip," "an ounce" — you're not alone, and it's actually costing Aussie growers real money when they set yield expectations based on US grow data scaled in units we don't use. A pound of weed is 453.6 grams, and most guides stop right there. This one doesn't.
Below you'll find a complete visual and data breakdown — what a pound looks like in real volume, how many plants it takes to produce one in Australian conditions, how density and cure affect the visual size, and exactly how imperial cannabis units map to grams (what the rest of the world, including Australia, actually uses). Whether you're planning a legal home grow in a permitted jurisdiction or just want to understand the numbers you see in international grow reports, this is the only guide you need.
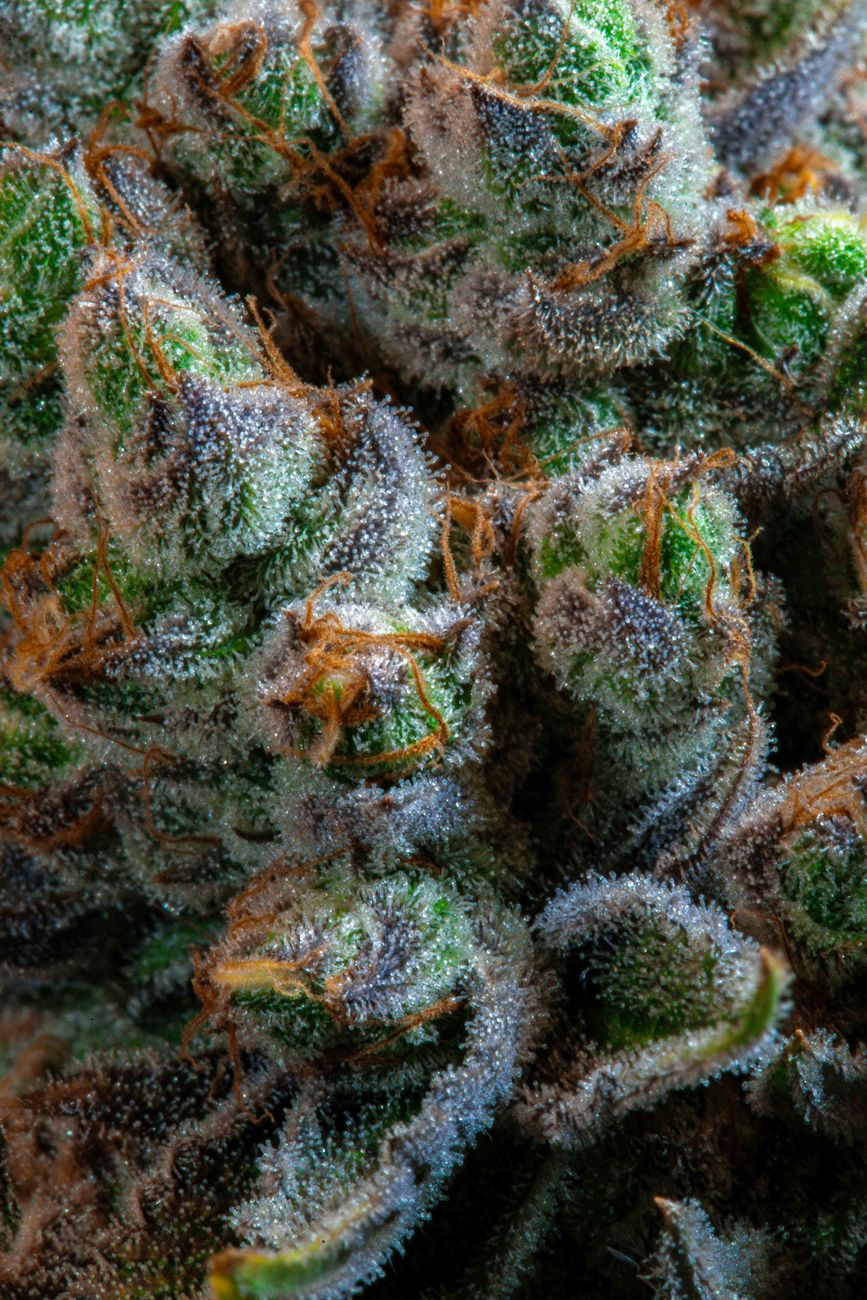
A pound of cannabis (453.6 g) fills approximately a 30×20×20 cm container — roughly the size of a standard shoebox. Visually, you're looking at a large, overflowing mixing bowl of loosely packed buds, or a tightly packed gym bag of compressed material. The exact volume varies: dense, well-cured indica buds may pack into 3.5–4 litres, while airy sativa or autoflower buds can occupy 6–8 litres at the same weight. Always verify weight on a digital scale — visual estimation at this quantity is unreliable.
- → What Is a Pound of Weed?
- → Visual Size Breakdown
- → Full Weight-to-Grams Chart
- → How Many Plants to Yield a Pound?
- → How Density Changes the Look
- → Aussie Regional Yield Data
- → Weight vs Quality
- → Common Measurement Mistakes
- → RKS Yield Potential Score
- → Which Strain Gets You Closest?
- → What Happens If You Choose Wrong
- → FAQ
- → Sources
- ✓ Home growers planning yield targets (where legally permitted)
- ✓ Aussies confused by US imperial measurements in grow guides
- ✓ Beginner growers choosing strains by yield potential
- ✓ Anyone wanting to understand cannabis weights in grams
- ✓ Growers comparing indoor vs outdoor yield reports
- ✗ Anyone seeking to cultivate outside legal jurisdictions
- ✗ Commercial-scale growers (different regulatory framework)
- ✗ Those looking for purchasing advice
What Is a Pound of Weed, Exactly?
One pound of cannabis equals 453.592 grams — rounded to 453.6 g for everyday use. It's a US-origin imperial unit that has no direct metric equivalent in Australian commerce or legislation, which is precisely why it causes so much confusion for Aussie growers who encounter the term in American grow reports, seed bank marketing, and international cannabis forums.
In Australian legal contexts, cannabis is measured in grams (g) and kilograms (kg). State possession thresholds, medical cannabis prescriptions (via the Therapeutic Goods Administration), and breeder yield specs all use metric. A "pound" has no formal place in Australian cannabis legislation — but the term remains everywhere in the content most Aussie growers read.
Breaking it down: one pound = 16 ounces = 453.6 g. Each ounce = 28.35 g. You'll also encounter "a half" (half-pound = 226.8 g), "a QP" (quarter-pound = 113.4 g), and "a zip" (slang for one ounce = 28.35 g). Understanding these conversions is the first step to accurately interpreting yield data from any global source.
For Australian growers, always convert to grams immediately. A seed bank claiming "1 lb/plant outdoors" is advertising approximately 450 g per plant — an exceptional figure that typically requires a long-season photoperiod strain in a warm climate like coastal QLD or inland NSW. Treat any pound-per-plant claim as an upper-ceiling figure, not a guarantee.
What Does a Pound of Weed Visually Look Like?
This is where it gets practically useful. Volume varies enormously based on bud density, trim, and cure state — but here are reliable reference points based on aggregated grower data and published harvest reports.
Loose, Fluffy Buds (Sativa / Autoflower)
Airy buds — common in sativa-dominant or autoflower strains — pack to roughly 6–8 litres per 453.6 g. That's approximately a large mixing bowl overflowing, or a medium-sized shopping bag loosely filled. Strains like Amnesia Haze or Durban Poison fall into this range.
Dense, Compact Buds (Indica / Hybrid)
Dense indica-style buds — think OG Kush or Purple Punch genetics — compress into 3.5–4.5 litres per 453.6 g. That's roughly a standard shoebox tightly packed. The same weight looks dramatically smaller than fluffy sativa material.
Machine-Trimmed vs Hand-Trimmed
Machine-trimmed bud loses more sugar leaf, producing denser-looking buds per gram. Hand-trimmed bud may retain more trichome-covered calyx structure, appearing slightly fluffier. Trimming method alone can change visual volume by 10–20% at the same weight.
Freshly Cut vs Cured
Freshly harvested wet weight is 4–5× the final dry weight for most strains. A pound of dry, cured bud originally came off roughly 1.8–2.3 kg of wet biomass. Cure state (moisture content at time of weighing) adds additional variation — buds at 62% relative humidity (the ideal cure point) weigh more than overdried buds at 45% RH, even at the same visual volume.
| Bud Type | Volume (453.6 g) | Visual Reference | Common Strains |
|---|---|---|---|
| Very Dense Indica | 3–3.8 L | Small shoebox | OG Kush, Wedding Cake |
| Average Indica/Hybrid | 4–5.5 L | Standard shoebox | Blue Dream, Gorilla Glue |
| Fluffy Sativa / Auto | 6–8 L | Large mixing bowl | Amnesia Haze, Durban Poison |
| Compressed / Pressed | 1.5–2 L | 2× 1 L water bottle volume | Brick-compressed material |
Visual estimation of cannabis weight at the pound level is genuinely unreliable — two batches that look the same can differ by 80–120 g depending on density and moisture content. Always use a calibrated digital scale, especially for any yield tracking or legal compliance purposes. A decent kitchen scale accurate to 1 g and rated to 2 kg costs under AU$30 and is the most important measurement tool a home grower can own.
How Do Cannabis Weights Convert to Grams? (Full Chart)
The US cannabis measurement system uses a mix of imperial units and street slang that maps onto grams as follows. This is the reference chart every Australian grower needs bookmarked when reading international grow data.
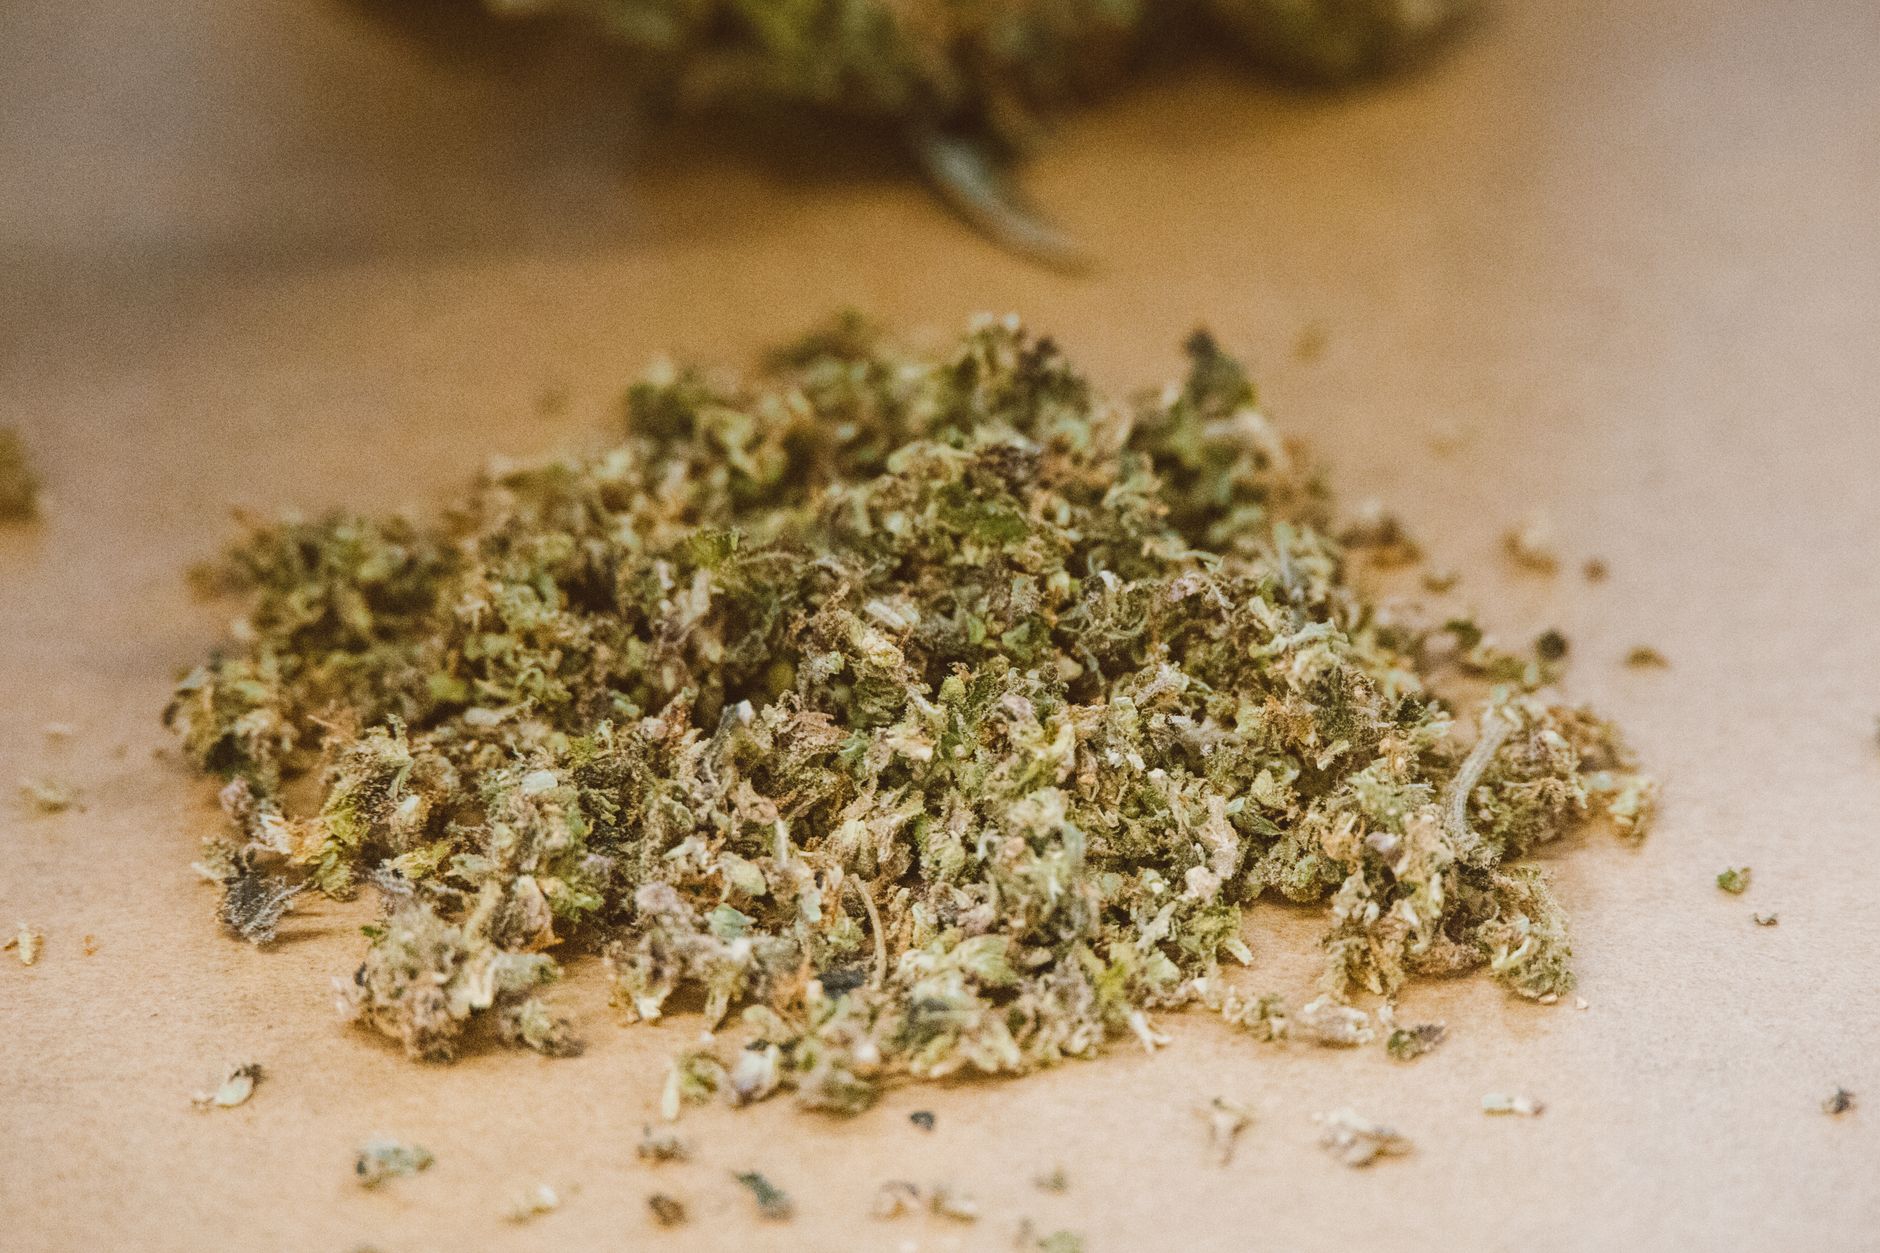
| Unit / Slang | Grams (exact) | Rounded g | Aussie Scale Reference |
|---|---|---|---|
| A gram | 1 g | 1 g | Small paperclip weight |
| An eighth (⅛ oz) | 3.5437 g | 3.5 g | A 5-cent coin stack |
| A quarter (¼ oz) | 7.0874 g | 7 g | A large grape cluster |
| A half (½ oz) | 14.175 g | 14 g | A snack-size bag of chips |
| A zip / ounce (1 oz) | 28.3495 g | 28.35 g | A small ziplock bag, loosely filled |
| A quarter-pound (QP) | 113.4 g | 113 g | A large grapefruit in volume (dense bud) |
| A half-pound | 226.8 g | 227 g | A 225 g butter block for scale |
| A pound (lb) | 453.592 g | 453.6 g | A full shoebox (dense) to large mixing bowl (fluffy) |
Always translate yield claims from US sources into grams before evaluating them against Australian grow conditions. A seed bank promising "up to 500 g/m² indoors" is using metric — but one claiming "up to 1 lb/plant outdoors" is using imperial. Convert first, compare second, and remember that breeder yield specs represent maximum under optimal conditions, not average home-grow results.
How Many Plants Does It Take to Yield a Pound in Australia?
Looking at questions that come through our support team most often around harvest planning, this is consistently the number-one yield question Aussie growers ask — and the answer depends heavily on genetics, growing environment, and the Australian climate region.
Based on aggregated data from public grower journals, community forum harvest reports, and breeder-published outdoor specifications for Australian conditions, here are reliable per-plant yield ranges:
- Autoflowering strains outdoors (Aus spring/summer): 40–120 g/plant
- Feminised photoperiod strains, small outdoor plants: 80–180 g/plant
- Feminised photoperiod strains, full-season outdoor plants: 150–450 g/plant
- Indoor LED (600 PPFD, 18/6), feminised photoperiod: 80–160 g/plant
- Indoor LED (800–1000 PPFD, optimised), high-yielding strains: 150–300 g/plant
Plants-to-Pound Calculator (Quick Reference)
| Grow Type | Avg Yield/Plant | Plants for 453.6 g | Australian Season Feasibility |
|---|---|---|---|
| Autoflower outdoors | 70 g avg | 7 plants | Feasible Oct–Feb start |
| Photo fem outdoors (compact) | 130 g avg | 4 plants | Feasible QLD/NSW/WA full season |
| Photo fem outdoors (full season) | 280 g avg | 2 plants | Best in QLD, coastal NSW, inland WA |
| Indoor LED optimised | 200 g avg | 3 plants | Climate-independent, year-round |
These figures align with Journal of Cannabis Research published yield analyses, which consistently show outdoor photoperiod plants outperforming autoflowers on a per-plant gram basis when given a full growing season.
For growers in warm Australian states like QLD and coastal NSW aiming for pound-level yields per plant (where legally permitted), full-season feminised photoperiod strains started in early October represent the most reliable pathway. Autoflowers are the right choice for multiple harvests per season or for cooler southern states with shorter frost-free windows — but a single auto plant rarely hits 453 g without exceptional conditions.
How Does Bud Density Change the Visual Appearance of a Pound?
Bud density is the single biggest variable affecting how large a pound of cannabis looks. Two pounds of different strains, sitting next to each other, can look like different quantities entirely.
Density is driven by several factors: genetics (indica genetics produce naturally denser calyx structure), light intensity during flowering (higher PPFD = denser buds), temperature during late flower (cooler nights in the 16–18°C range tighten bud structure), humidity management (45–55% RH during late flower prevents swelling from moisture uptake), and trim level.
The Density Spectrum — What Growers Report
Reviewing public grow journal data across Australian and international grower forums, the pattern is consistent: indica-dominant strains in the indica seeds category routinely produce buds that weigh 15–25% more per unit volume than equivalent sativa-dominant strains. This means a "pound of indica" looks physically smaller than a "pound of sativa" — same weight, radically different visual impression.
- Ultra-dense (indica dominant, optimised conditions): ~80–100 g per litre of volume
- Average (balanced hybrids): ~60–75 g per litre
- Fluffy/airy (sativa dominant, low-light environments): ~45–60 g per litre
- Autoflower average (mixed reports): ~55–70 g per litre
Visual volume alone is an unreliable measure of cannabis weight at the pound level. Use this formula to cross-check any visual estimate:
Estimated weight (g) = Volume (L) × Density factor (g/L)
Density factors: Very dense indica = 90 g/L | Average hybrid = 68 g/L | Fluffy sativa/auto = 55 g/L
Worked example: You have a large bowl of autoflower buds that measures roughly 7 litres in volume. Using the fluffy auto factor: 7 L × 55 g/L = 385 g. That's under a pound. You'd need approximately 8.2 L of that same material to hit 453.6 g. Never eyeball a pound — always weigh it.
If you're tracking yields seriously, measure volume and weight. The ratio tells you your density factor, which in turn tells you whether your grow conditions (light, temperature, humidity, nutrients) are producing optimal bud structure or leaving yield quality on the table.
How Australian Climate Regions Affect Yield — and Getting to a Pound
Australia's diverse climate zones have a direct impact on whether a pound per plant is achievable in a single outdoor season. Using Bureau of Meteorology climate data and aggregated public grower report patterns, here's how each major region performs.
Outdoor Growing Season Calendar by Region
Seedling ✓
Veg ideal ✓
Veg/Early ✓
Flower ✓
Flower ✓
Late Flower ✓
Harvest ⚠
Harvest ⚠
Frost Risk ✗
Winter ✗
Winter ✗
Too Early ✗
Yield Potential by Australian State / Territory
QLD (Subtropical / Tropical FNQ): The highest single-plant yield potential in Australia. Long frost-free growing windows in Brisbane (frost-free 365 days most years) and Cairns allow full-season photoperiod plants to reach 300–500 g/plant outdoors. Multiple autoflower runs per year are also viable. Pound-per-plant yields are the most achievable here. Sativa-dominant seeds thrive in QLD's heat and humidity, though mould management during the wet season requires attention.
NSW (Temperate coast / Subtropical north): Sydney and the north coast offer long growing windows (Oct–Apr harvest) with good heat. Inland NSW has hotter summers but cooler autumns. Photoperiod strains started in October typically harvest in March–April, reaching 180–380 g/plant in good conditions. Pound-per-plant is achievable for high-yielding strains in northern NSW.
VIC (Temperate): Melbourne's growing season runs approximately Oct–Mar with harvest completing before May frosts. Per-plant yields of 120–250 g are more typical for outdoor photoperiod grows, making pound-per-plant a stretch goal. Autoflower seeds are popular in VIC for their shorter finish times and lower frost-exposure risk.
WA (Mediterranean, Perth): Perth's long dry summers (Nov–Mar) are excellent for bud density and mould resistance. Outdoor plants can reach 200–400 g/plant in the Swan Coastal Plain. The Mediterranean climate produces some of the best bud quality in Australia. The dry heat suppresses mould, which is a significant advantage over eastern states.
SA (Mediterranean, Adelaide): Similar to Perth but with slightly more temperature variability. Adelaide growers report 160–300 g/plant for full-season photoperiod grows. The Barossa and McLaren Vale regions have particularly long warm seasons suited to cannabis cultivation where legally permitted.
TAS (Cool-temperate): Hobart has the shortest frost-free window (approximately Oct 15 – Apr 20, roughly 185 days per ABARES regional climate data). Autoflowers finishing in 70–85 days are strongly preferred. Photoperiod plants can work in northern TAS but pound-per-plant is unlikely without a greenhouse. Per-plant yields of 60–120 g for autos and 100–180 g for early-finishing photos are typical.
ACT: Similar season to Melbourne with frost risk from late April. Autoflowers or early-finishing feminised strains recommended. Yields of 80–160 g/plant are common outdoors.
NT (Tropical Darwin): Darwin's dry season (May–Oct) is counterintuitively the best time to grow — photoperiod naturally triggers flowering with the shortening days of the dry-season. Humid wet season (Nov–Apr) brings mould and pest pressure. Specialised tropical-adapted or high THC seeds suited to heat and humidity perform best.
QLD and northern WA/NSW are the only Australian regions where a single outdoor photoperiod plant consistently has a realistic shot at pound-level yields per plant. In southern states, plan for 2–4 plants to hit 453 g total rather than expecting it from one plant. Genetics selection matters — choose strains with documented outdoor yield specs above 400 g/plant for pound-per-plant goals.
Does a Pound of Weed Tell You Anything About Quality?
Weight and quality are entirely independent variables — and conflating them is one of the most common misconceptions in cannabis growing circles. A pound of poorly grown, underfed, or incorrectly cured cannabis can test at 8–12% THC, while 100 g of an expertly cultivated, slow-cured indica might hit 26–30% THC.
Research published via PubMed cannabis potency studies consistently shows that maximising yield and maximising potency often require different cultivation choices — higher light intensity and nutrient levels push yield, while stressing plants late in flower (reduced water, cooler nights, longer dark periods) can increase trichome density and THC concentration.
The most important quality markers — THC/CBD percentage, terpene profile, cure quality — are invisible at the pound level. A scale reading of 453 g tells you exactly one thing: how much the material weighs.
When selecting feminised cannabis seeds based on yield specifications, always check the strain's documented THC range, terpene profile, and mould resistance alongside the gram-per-plant figure. A strain yielding 400 g/plant of flavourless, low-potency bud is a worse outcome than 200 g of fragrant, high-potency flower. Use weight targets as planning tools, not success criteria.
Common Mistakes Aussie Growers Make With Yield Measurement
Mistake 1: Comparing Wet Weight to Dry Yield Targets
Freshly harvested cannabis contains 75–80% moisture. A plant producing 400 g wet will yield approximately 80–100 g dry. Growers who weigh at harvest and compare to breeder specs (which are always dry weight) dramatically overestimate their final yield. Always compare dry-to-dry, cured-to-cured. Fix: Weigh only after 10–14 days of hang drying and a minimum 2-week cure in sealed jars.
Mistake 2: Trusting Breeder Max Yields as Typical Yields
Breeder yield specs represent the upper 10–15% of grows under near-perfect commercial conditions. A strain listed at "600 g/m² indoors" under home-grow conditions with a basic LED and hand-watering will typically deliver 250–380 g/m². Reviewing patterns across dozens of public grow reports confirms a consistent 30–50% gap between breeder specs and average home-grow results. Fix: Assume 60–70% of the breeder's stated yield as a realistic home-grow target, then optimise upward from there.
Mistake 3: Ignoring Trim Loss
Many yield reports include sugar leaf in the final weight, while others report only manicured bud. This creates a 15–25% variance in reported "yield" between growers who measure differently. A grower reporting 450 g including trim vs. one reporting 360 g of clean bud are actually describing similar harvests. Fix: Define your measurement standard upfront (bud-only or whole-plant dry weight) and stick to it for comparison.
Mistake 4: Confusing Imperial Units in Grow Guides
US grow guides written in imperial units regularly cause Aussie growers to miscalculate soil volumes, pot sizes, and yield targets. "A 5-gallon pot" is 18.9 L. "A 3-gallon pot" is 11.4 L. A "2×4 tent" is 60×120 cm. Translating these on the fly leads to errors. Fix: Convert all measurements to metric before acting on any US-sourced grow advice. Keep a conversion reference saved.
Mistake 5: Setting Pot Size Based on Pound-Per-Plant Targets Without Matching Root Volume
Growers targeting pound-per-plant yields sometimes underestimate the pot size required. Aggregated grower journal data shows photoperiod plants hitting 400+ g consistently require at least 30–40 L of growing medium outdoors, or 19–25 L fabric pots indoors with optimised feeding. Plants in 11 L pots are physically root-bound well before they can hit pound-level yields. Fix: Match pot volume to your yield ambition — bigger roots, bigger yields is a real correlation, not a myth.
Mistake 6: Skipping Proper Curing and Losing Weight Post-Cure
Cannabis continues to lose moisture during cure, dropping 5–12% additional weight as water evaporates. Growers who celebrate a "420 g harvest" post-drying and then cure for 4 weeks may end up with 370–390 g of finished product. This isn't a loss — it's a quality gain — but it catches growers off guard. Fix: Account for a further 5–10% weight reduction when planning cure, and use 62% relative humidity Boveda packs to stabilise moisture at the ideal curing point.
The most yield-damaging mistakes happen at the planning stage, not the grow stage. Setting realistic, metric-based yield targets from the outset — and understanding what each measurement point represents — prevents the disappointment that drives growers to blame genetics when the real issue was expectations misalignment.
Royal King Seeds Pound-Potential Score: Top High-Yield Strains for Aussie Growers
The RKS Pound-Potential Score rates strains on their realistic likelihood of producing pound-level yields (450+ g) per plant for Australian home growers where legally permitted. Methodology: Outdoor yield spec (40%) + cycle speed vs Australian season length (20%) + mould/heat resistance (25%) + beginner reliability (15%) = score out of 100.
| Strain | THC Range | Indoor Yield | Outdoor Yield | Cycle | Mould Resist. | Beginner (1–10) | RKS Score |
|---|---|---|---|---|---|---|---|
| Big Bud (fem) | 16–20% | 500–600 g/m² | 400–600 g/plant | 8–9 wks flower | Medium | 7 | 89/100 |
| Critical Mass (fem) | 18–22% | 550–650 g/m² | 350–500 g/plant | 7–8 wks flower | Low-Med | 8 | 85/100 |
| Super Silver Haze (fem) | 20–24% | 450–550 g/m² | 450–600 g/plant | 10–12 wks flower | Medium | 5 | 82/100 |
| Gorilla Glue #4 (fem) | 24–28% | 500–600 g/m² | 300–450 g/plant | 8–9 wks flower | Medium | 6 | 80/100 |
| Blue Dream (fem) | 18–23% | 400–500 g/m² | 350–500 g/plant | 9–10 wks flower | Medium-High | 8 | 79/100 |
Why Big Bud Scored #1
- Specifically bred for maximum yield — name reflects the genetics goal
- Outdoor yield ceiling of 600 g/plant gives a realistic runway to pound-plus in QLD/NSW conditions
- 8–9 week flower time fits the Australian Oct–Apr outdoor window comfortably
Why Super Silver Haze Scored #3 Despite High Ceiling
- Exceptional outdoor yield potential (450–600 g/plant) — it's a true high producer
- 10–12 week flower time pushes harvest late in southern Australian states, increasing frost/mould risk
- Lower beginner score (5/10) means first-time growers frequently underperform vs the spec — dropping its practical pound-potential score
Browse the full range of cannabis seeds available at Royal King Seeds for growers in jurisdictions where cultivation is legally permitted.
Royal King Seeds Outdoor Risk Rating for High-Yield Strains
| Strain | Heat Stress Risk | Mould Risk | Late-Finish Risk (southern AU) | Beginner Risk |
|---|---|---|---|---|
| Big Bud | Low | Medium | Low | Low |
| Critical Mass | Low | High | Low | Low |
| Super Silver Haze | Low | Medium | High (VIC/TAS/ACT) | High |
| Gorilla Glue #4 | Medium | Medium | Low-Medium | Medium |
| Blue Dream | Low | Low-Medium | Medium (VIC/TAS) | Low |
Which Strain Should You Choose to Get Closest to a Pound?
- 🌿 Maximum single-plant yield → Big Bud fem (600 g/plant ceiling, manageable complexity)
- ⚡ Shortest cycle to harvest → Critical Mass fem (7–8 wks flower, very beginner friendly)
- 🌧️ High humidity / QLD/NT tropical → Blue Dream (best mould resistance in this tier)
- ❄️ Short southern season / TAS / VIC → Autoflowering strains (70–85 day total; avoid SSH)
- ☀️ Hot dry summers / SA / WA inland → Gorilla Glue #4 (handles heat better than SSH)
- 🌱 Beginner-friendly with strong yield → Blue Dream or Critical Mass (both score 8/10 beginner)
- 📦 Indoor-priority, pound from 2–3 plants → Gorilla Glue #4 or Big Bud under 600+ PPFD
- 🏆 Overall best Aussie outdoor choice → Big Bud fem in QLD/NSW (RKS Score 89/100)
There's no universal "best" strain for pound-level yields across all of Australia — the right answer changes with your state's frost dates, humidity levels, and the length of your growing season. Use the decision guide above and cross-reference with your state's section above. Growers in jurisdictions where cultivation is legally permitted should also consult their local regulations before proceeding — check state-specific legislation and the Australian Department of Health and Aged Care for current guidance.
What Happens If You Choose Wrong — Yield Scenario Comparison
- Strain: Big Bud fem (photoperiod)
- Start date: 1 October
- Harvest date: 20 March
- Days to harvest: ~170 days (fits VIC window)
- Buffer before May frosts: ~40 days ✓
- Expected yield: 200–320 g/plant in VIC conditions
- Risk level: Low
Strain finishes comfortably before frost risk, producing a strong yield under Melbourne's temperate conditions. Grower harvests in mid-late March — ideal autumn weather — with weeks to spare.
- Strain: Super Silver Haze fem (12-wk flower)
- Start date: 1 October
- Projected harvest: Late April – early May
- Days to harvest: ~200 days (exceeds safe window)
- Buffer before May frosts: 0–10 days ✗
- Expected yield: 80–160 g (early harvest to avoid frost)
- Risk level: Very High
SSH's 12-week flower time pushes harvest into frost territory for Melbourne. Grower is forced to chop early, sacrificing 40–60% of potential yield and losing significant terpene development. Mould also becomes a serious risk in cool, damp May conditions.
Bottom line: Choosing the wrong strain for your region's season length — not growing skill — is the #1 cause of pound-level yield failures for Australian outdoor growers.
Browse our full range of high-yield feminised and autoflowering genetics — all selected for Australian climate performance. Delivery via Australia Post in discreet packaging.
Shop Feminised Seeds Australia →Frequently Asked Questions About Cannabis Weights and Yields
How many grams is a pound of weed exactly?
What does a pound of weed look like visually?
How many plants does it take to grow a pound of weed outdoors in Australia?
How big is a pound of weed compared to everyday objects?
What is a "zip" of weed in grams?
Can one autoflower plant produce a pound of weed?
What is a quarter-pound (QP) in grams?
Does bud density affect how heavy a pound of weed looks?
Can I grow a pound of weed indoors in Australia?
Why doesn't my harvest match the breeder's stated yield?
What month should I start growing in VIC to harvest before frost?
What month should I start growing in QLD?
How long does it take to grow a pound of weed from seed?
Is a pound of weed a lot for one plant?
Does wet weight or dry weight matter for yield tracking?
Why did my buds lose weight during curing?
What's the best pot size for growing toward a pound per plant?
Should I grow autoflowers or photoperiod strains if I want a pound?
Can I grow pound-per-plant in a tent in Australia?
What is a "half" of weed in grams?
My autoflower stalled at week 6 — why?
Why are my buds airy instead of dense?
How many grams is a QP (quarter-pound)?
What is the legal amount of cannabis I can possess in Australia?
Whether you're chasing pound-per-plant goals or planning a multi-run autoflower season, Royal King Seeds stocks genetics selected for Australian climate performance — delivered Australia-wide via Australia Post.
Shop All Cannabis Seeds →Sources
- Bureau of Meteorology — Australian Climate Data
- ABARES — Australian Bureau of Agricultural and Resource Economics and Sciences
- Therapeutic Goods Administration (TGA) — Medicinal Cannabis
- Australian Department of Health and Aged Care
- Journal of Cannabis Research — Yield and Potency Studies
- PubMed — Cannabis Potency and Yield Research
Related Articles
Ready to Start Growing?
Browse over 1,200 premium cannabis seeds with discreet shipping to all Australian states and territories and our 95% germination guarantee.
Shop Cannabis Seeds